

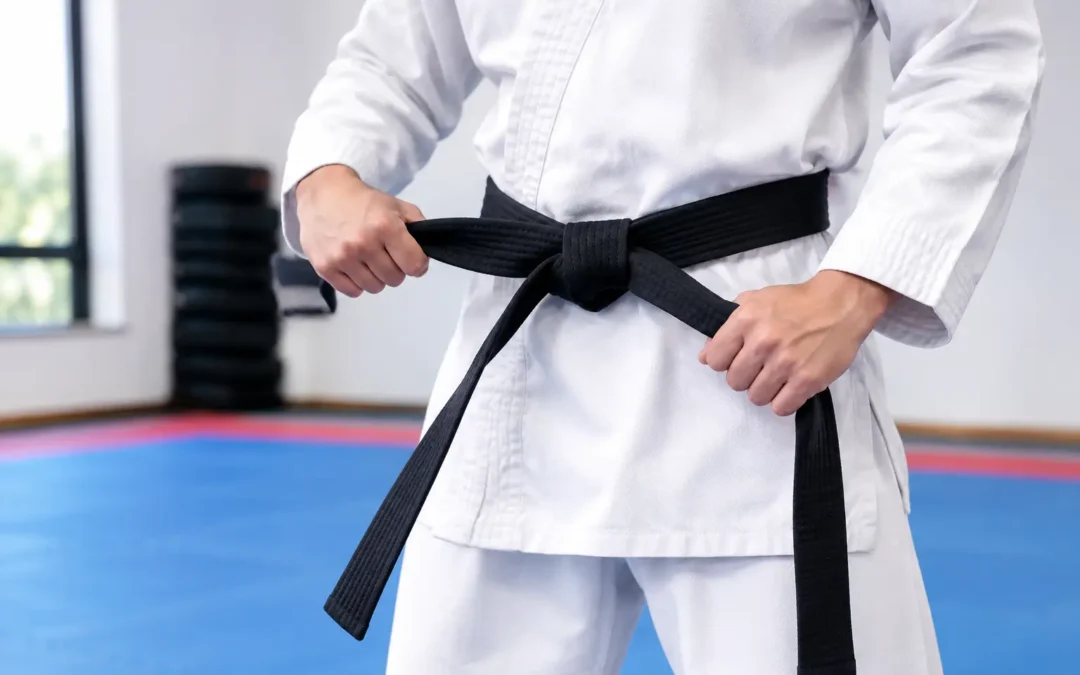
A Taekwondo belt should sit flat, feel secure, and stay out of the way when you kick, block, and move. Learning how to tie taekwondo belt properly is one of the first small disciplines students practice. It is not about making a perfect knot on day one. It is about arriving prepared, respecting the uniform, and building habits that carry into every class.
For children, a belt that comes loose can become frustrating halfway through practice. For teens and adults, it can interrupt focus during forms, sparring drills, or fitness training. The method below creates a clean, dependable knot that works well for most beginner Taekwondo uniforms.
Start With the Belt Centered and Flat
Before you tie anything, find the center of your belt. Many belts have a crease, tag, or visible midpoint that makes this easier. Place that center directly over your belly button. The belt should rest across the front of your dobok, not above your ribs or low on your hips.
Hold the center in place with one hand. With the other hand, bring each end around your waist toward your back. Cross the ends behind you, then bring them back to the front. Keep the belt flat as it travels around your body. A twisted belt may still hold, but it looks untidy and can loosen quickly during training.
When both ends return to the front, they should be close to the same length. A small difference is normal. If one side hangs much farther than the other, untie it and adjust the starting point before making the knot. This simple reset saves time and produces a cleaner finish.
How to Tie a Taekwondo Belt Step by Step
Once the belt is wrapped around your waist twice and both ends are in front, you are ready to secure it. Use the following method slowly at first. Speed comes naturally after repetition.
1. Cross the left end over the right end
Hold one belt end in each hand. Cross the end in your left hand over the end in your right hand. The left end should now sit on top, forming an X at the center of your waist.
Keep the belt layers flat. Do not pull tightly yet. The goal is to keep the wrap straight while setting up the first part of the knot.
2. Bring the top end up through both layers
Take the end that is now on top. Feed it upward from underneath all of the belt layers at your waist. It should pass behind the two horizontal layers and come out at the top of the knot.
Pull both ends outward firmly, one to each side. This locks the belt around your waist. It should feel secure, but you should still be able to breathe comfortably and move without restriction. A belt is not supposed to function like a tight weightlifting strap.
3. Make the final square knot
After tightening the first wrap, you will have one end coming from the top and one from the bottom. Lay the end in your right hand over the end in your left hand. Then pass that top end down through the loop you created.
Pull both ends evenly to tighten the knot. The finished knot should be compact and centered, with the two belt ends hanging at similar lengths. It should look flat rather than bulky or twisted.
A square knot is the goal. If the belt ends angle sharply up and down instead of resting naturally, you may have tied a granny knot. It will often loosen during class. Untie it, reverse the direction of the final crossover, and try again.
What a Properly Tied Belt Should Look Like
A good belt knot does not need to be decorative. It needs to stay in place and reflect attention to detail. Check three things before stepping onto the training floor: the belt is flat around your waist, the knot is centered, and the ends are reasonably even.
The ends do not have to match perfectly, especially on a new belt that has not softened with use. However, one end should not hang to your knee while the other barely reaches your hip. An uneven belt usually means the center was not positioned correctly at the beginning.
Your belt should also cover the dobok jacket ties or overlap area neatly. During active classes, a little shifting is normal. Re-tying your belt is not a mistake or a sign that you are doing poorly. It is part of maintaining your uniform and returning your attention to training.
Common Mistakes Beginners Make
The most common mistake is beginning with too much belt on one side. Students sometimes try to correct this after wrapping the belt, but the adjustment rarely works well. Start over and shift the center point slightly toward the shorter side.
Another common issue is twisting the belt at the back. This is especially easy for younger students because they cannot see what their hands are doing. Parents can help children practice in front of a mirror, or students can ask an instructor to check the wrap before class begins. With practice, they learn to feel when the fabric is flat.
Some students pull the first knot extremely tight, which makes the final knot difficult to form and can bunch the uniform underneath. Others tie too loosely, so the belt drops during basic stances or kicks. The right tension is secure and comfortable. You should be able to take a full breath, chamber a knee, and bend at the waist without discomfort.
Finally, do not worry if your knot takes several attempts at first. Taekwondo is built on repetition. The same patience used to improve a front kick, a form, or a defensive block also applies to tying your belt.
Belt-Tying Etiquette in Taekwondo
A belt represents progress earned through consistent effort, not just time spent in class. Treat it with respect. Avoid dragging it on the floor, tossing it into the bottom of a gym bag, or wearing it outside of training unless your school specifically permits it.
Many schools ask students to tie their belts before lining up, bowing in, or entering the training area. If your belt comes undone, step to the side when appropriate and retie it without disrupting instruction. Instructors understand that belts loosen during movement, especially when students are new. What matters is responding calmly and respectfully.
For parents, encourage children to learn the process rather than tying the belt for them every time. It may take a few extra minutes at first, but it builds independence and confidence. A child who can arrive, organize their uniform, tie their belt, and join class with focus is practicing responsibility before the lesson even begins.
Practice at Home Without the Pressure
The fastest way to improve is to practice when you are not rushing to class. Put on the uniform at home and tie the belt three or four times in a row. Focus on keeping it flat first. Once that feels natural, work on even ends and a centered square knot.
A mirror can help, but it is not required. In fact, practicing by feel helps students learn the movement behind their backs, where they cannot see the belt during normal wrapping. Younger children may benefit from a parent calling out each step: center, wrap, cross, pull through, knot.
Different Taekwondo schools may use slightly different belt-tying traditions, particularly for advanced ranks or formal demonstrations. Follow your instructor’s preferred method if it differs from the one taught here. Consistency within your school matters more than choosing a style from a video or another program.
At United Martial Arts Katy, students learn that details matter because details build discipline. Tying your belt may take less than a minute, but doing it with care is a quiet way to prepare your mind for the work ahead. Take that same focus onto the mat, and every class becomes another opportunity to build confidence, character, and skill.


Recent Comments